Zellige Tile

All tile is the same right? All handmade tile is the same right?

Not true! Handmade tile in and of itself requires a lot of attention to detail to make it look right. Zellige tile requires EXTRA attention to detail on top of that. This type of tile needs an experienced installer to make it look perfectly imperfect.

This is one of the most beautiful handmade tiles in my opinion, but also one of the most difficult to install properly. Whether you chose me or another installer to do you Zellige job, I BEG you to do research on your installer, and make sure they are experienced with this particular tile. Zellige is not your run of the mill handmade tile.

Something that I have heard from clients who have had a bad Zelliege job, is that their installer has shrugged off the difficulty and told them “its no big deal” or that they have a lot of experience with subway tile, so this shouldn’t be any different. It is very different.

Installing Zelliege is a passion of mine. I love how it is made, I love how it looks when it is done correctly, and I love working with it.

I can not say it enough, please vet your installer when it comes to this style of tile. Below I will share a bad zellige job, along with a few projects I have worked on. You don’t have to hire me, but please please please vet your contractor if you are having this style of tile installed.


oooooofffff the bad!


And the good!


Broomfield Botched Shower

I was contacted by these wonderful clients last year to address a shower pan that had water pooling in it. They had hired a licensed General Contractor to remodel their master bathroom a few months prior. The clients told me that he had done a wonderful job on everything, except the shower. After seeing that the water pooled in one corner, I knew right away that the pan was not pitched toward the drain. I also had a very strong suspicion, that if the floor of the shower was not built correctly, than the rest of the shower was more than likely not built correctly. I recommended that the shower be replaced. After some time, the clients agreed that was the only solution.

My suspicions were confirmed when I started demo on the shower. The list of issues just kept growing the more of the shower I dismantled. The shampoo niche is on the wrong wall, that is an exterior wall, which requires insulation in the entire wall. Having a niche there is not up to building code. The walls only had a thin layer of waterproofing membrane on the bottom portion of the shower (red stuff). The backerboards used to build the substrate, were not “taped and mudded”, this is something that is required for structural reasons. Skipping this step, means each 15sqft section moves independently of one other, which can result in cracked tiles and grout. The shower floor was built out of Durock, a backerboard product that is not suitable for wet areas, or to use as a shower base. Also, when checking the level of the shower floor, I had been correct, the base sloped away from the drain. The clients didn’t use the shower for several months prior to demo being started. And when I took up the shower pan, it was soaking wet underneath. I was shocked to see that there was actually a PVC liner in the base of the shower. This is used to waterproof the base. However, the GC had put screws put all through it, compromising any waterproofing. Click to see more photos.


For my shower prep, I like to use advanced waterproof, foam based products. Laticrete, Schluter, Wedi, and USG are just a few of the brands I like to work with. For this project I used the USG board, and Schluter shower pan. The seams are sealed with a waterproof fabric membrane, and all screw holes are sealed with a heavy duty, waterproof sealant.


In the end the shower came out beautifully, and will last these clients many years. Can you spot the heart stone in the middle of the drain?

93rd Place Project

I was contacted by this client to help her make her house a home. She had just purchased and moved into, a brand new custom home. The tile work was awful. The builder pushed the client into tile choices that she was very unhappy with. I was brought in to redo 2 fireplaces, a kitchen backsplash, a shower, and to add tile to the kitchen island and an accent wall in the powder room.

Both fireplaces had bad tile, and one of them even posed a hazard. As I was demoing the stone on the dining room fireplace, I found that some of the stones were not even adhered to the wall, and could have fallen off at any time. Once the demo was done, I prepped the areas using an adhesion and anti-fracture membrane. This helps the new tile adhere to the surface more effectively, and also helps the installation to move with the house as it “breathes” and “settles”.

When I started demoing the shower, I discovered that the builder had not waterproofed the area at all. If this client had not replaced this shower, it could have ended up costing her thousands of dollars in water damage down the road. I installed 1/2” Denshield backerboard, which is water and mold resistant, and then applied 3 coats of a waterproofing membrane to the walls and curb. I chose to build my shower pan out of concrete for a more solid base.


The client chose some beautiful metal accent pieces to be added, at random, in the backsplash and powder room accent wall. I was very excited when one of the accents the client chose, was a lotus flower.


This was such an incredible project to be a part of. I had so much fun helping the client pick tiles and design her projects. In the end, the homeowner was over the moon about the transformation of her house she was unhappy with, into home that she loved.

Ottawa Ave Project

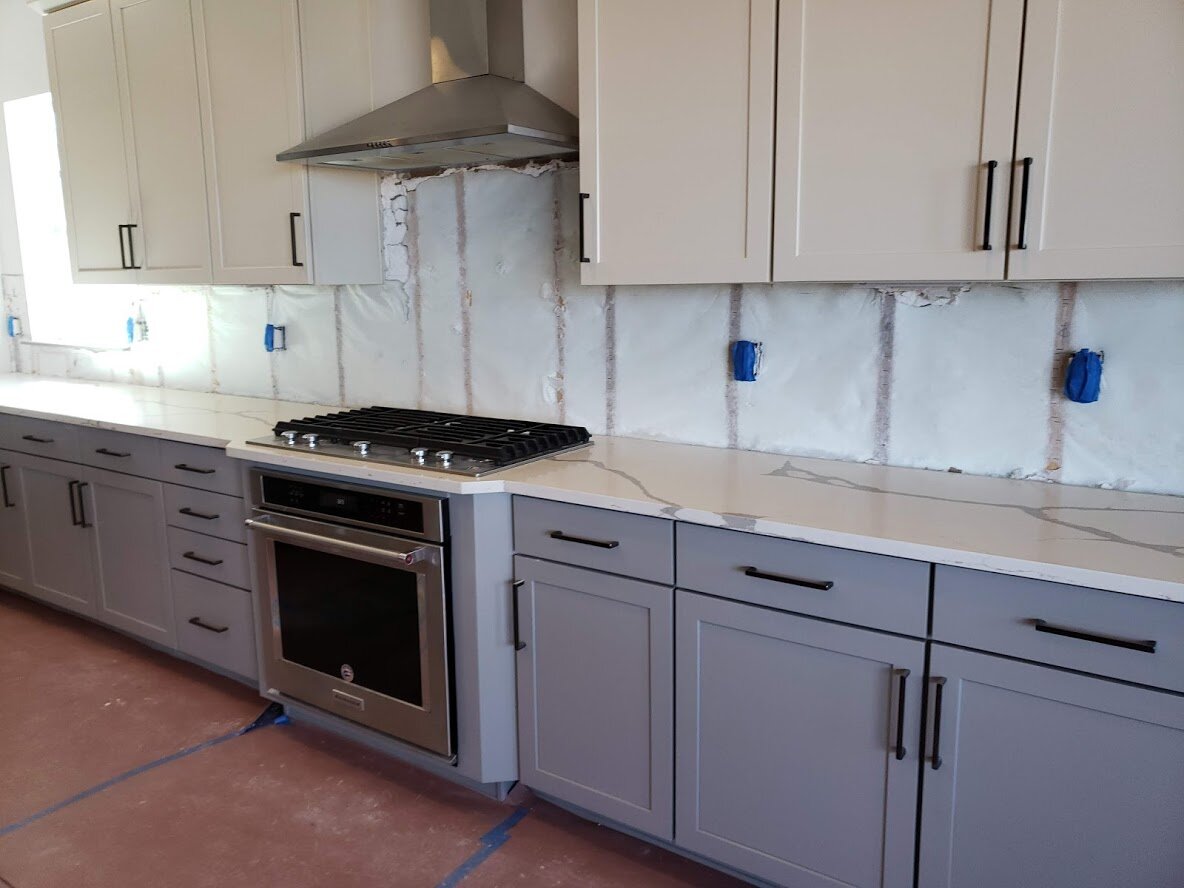
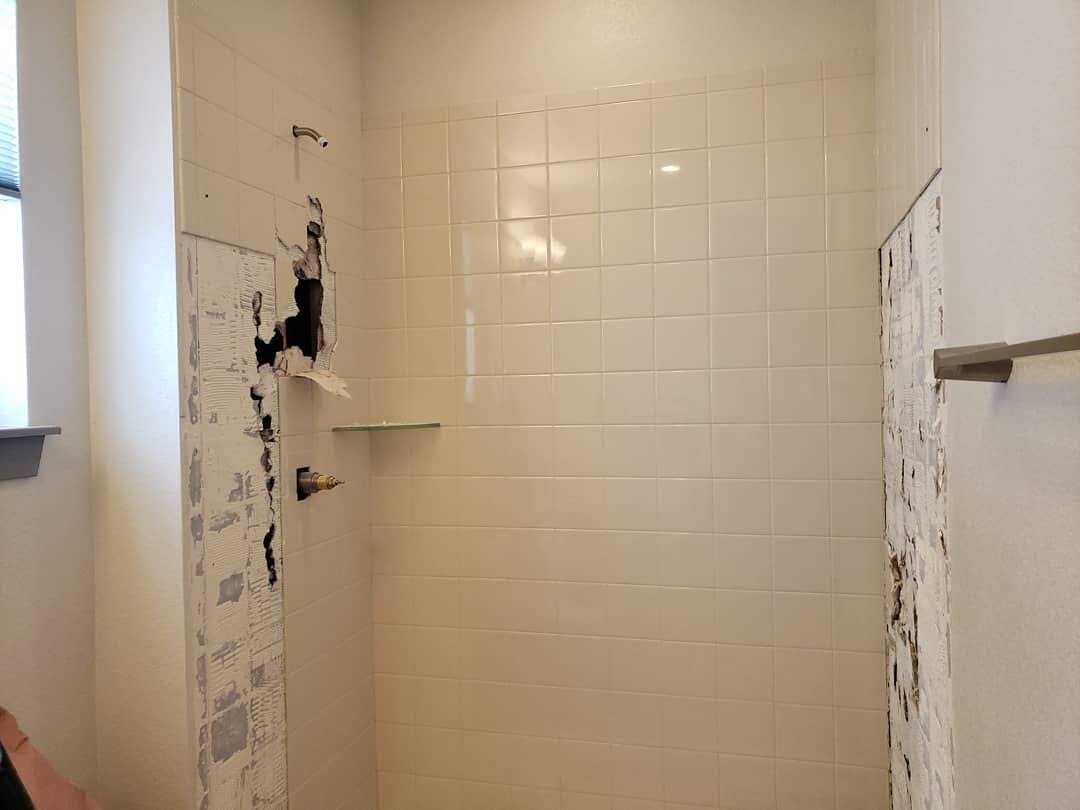
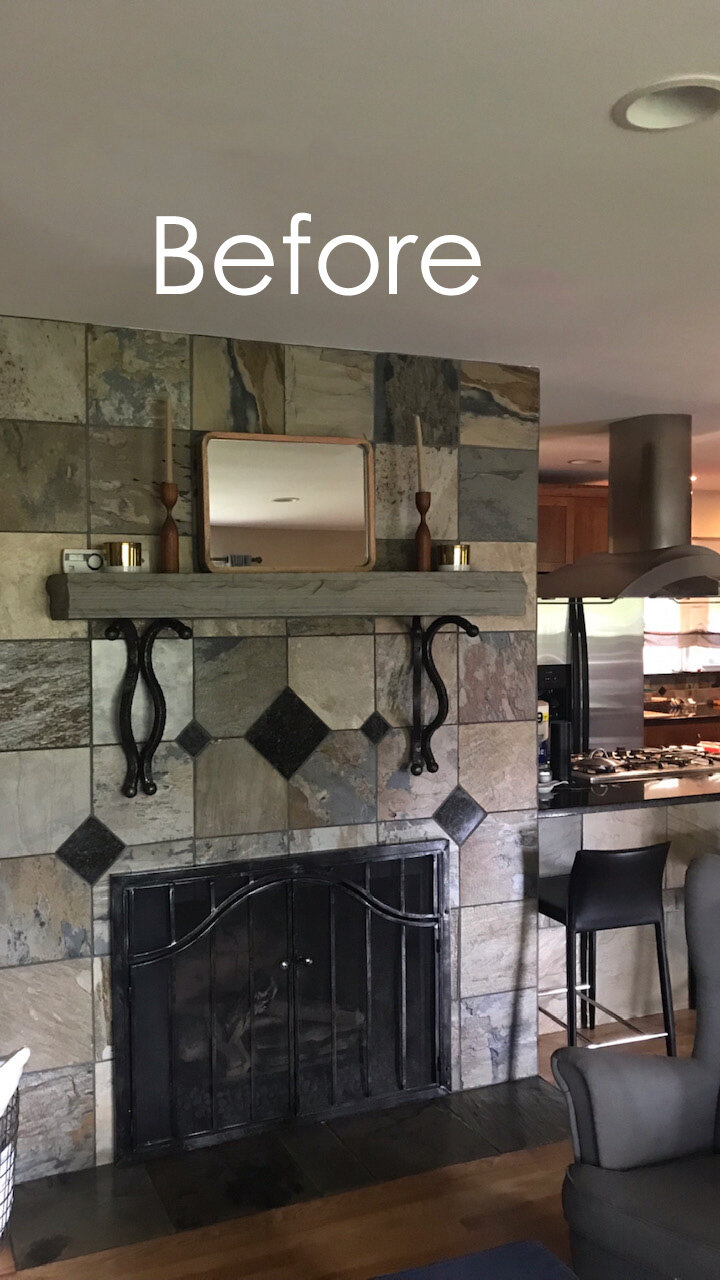
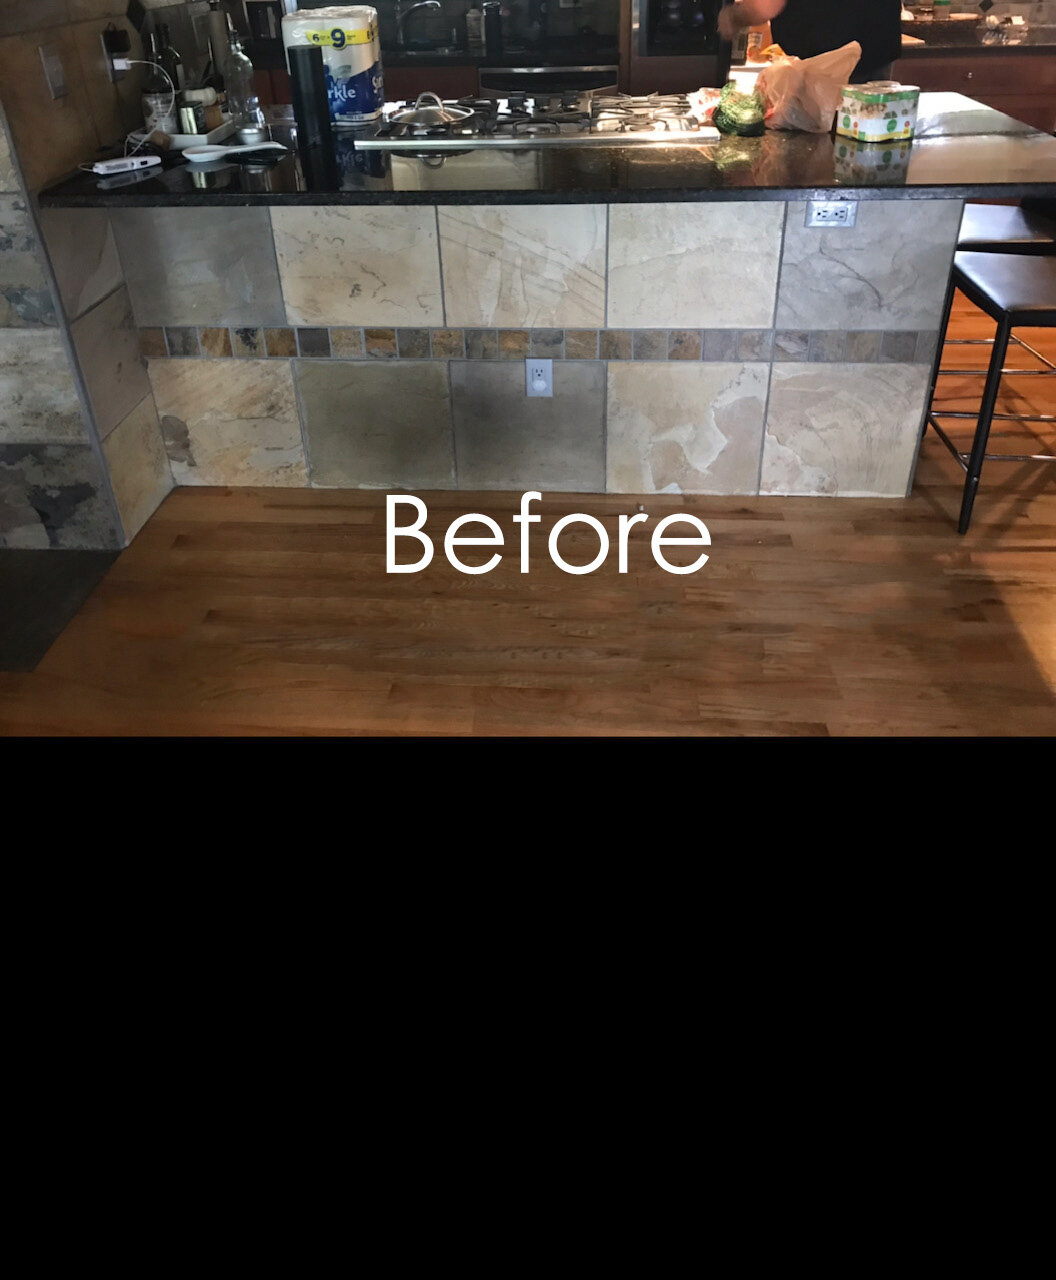
This client contacted me interested in replacing the very dated tile on her fireplace, island, and kitchen backsplash.

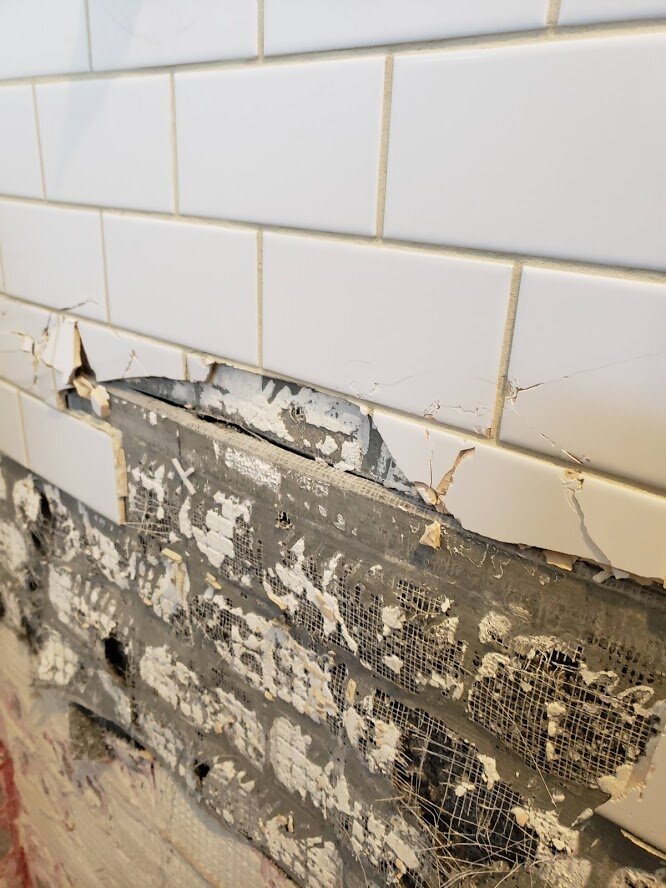
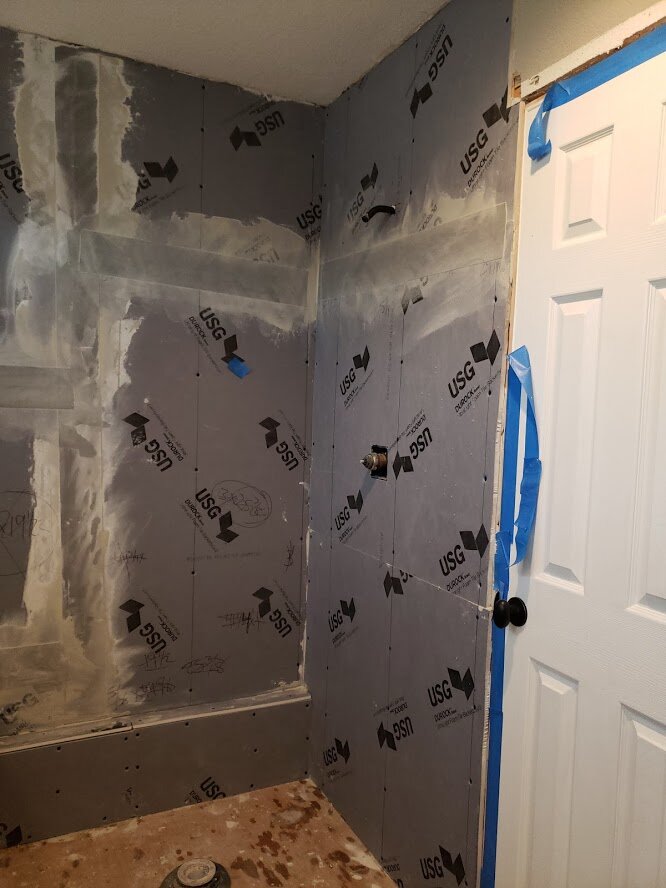
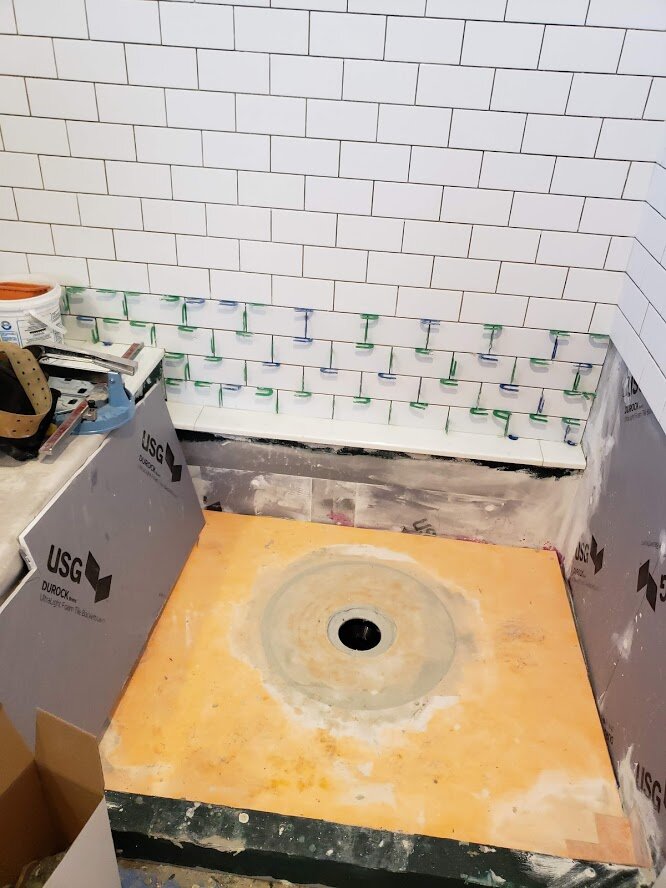
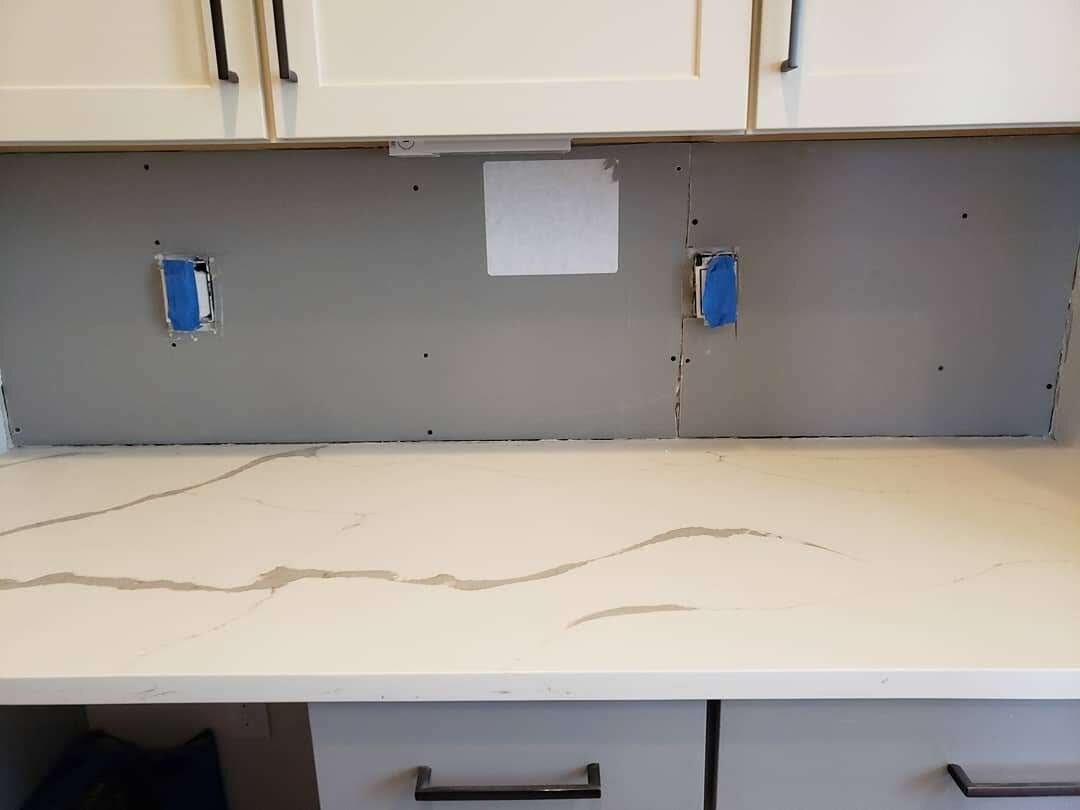
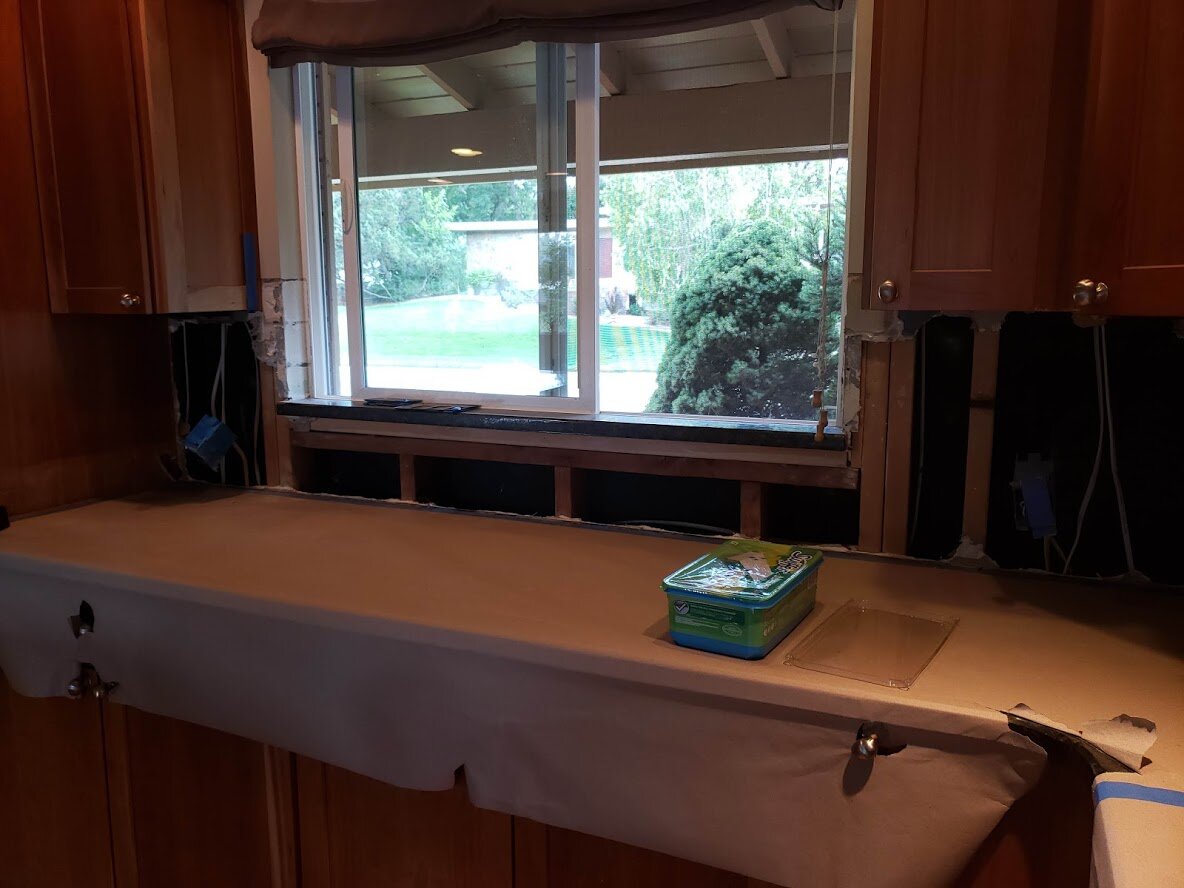
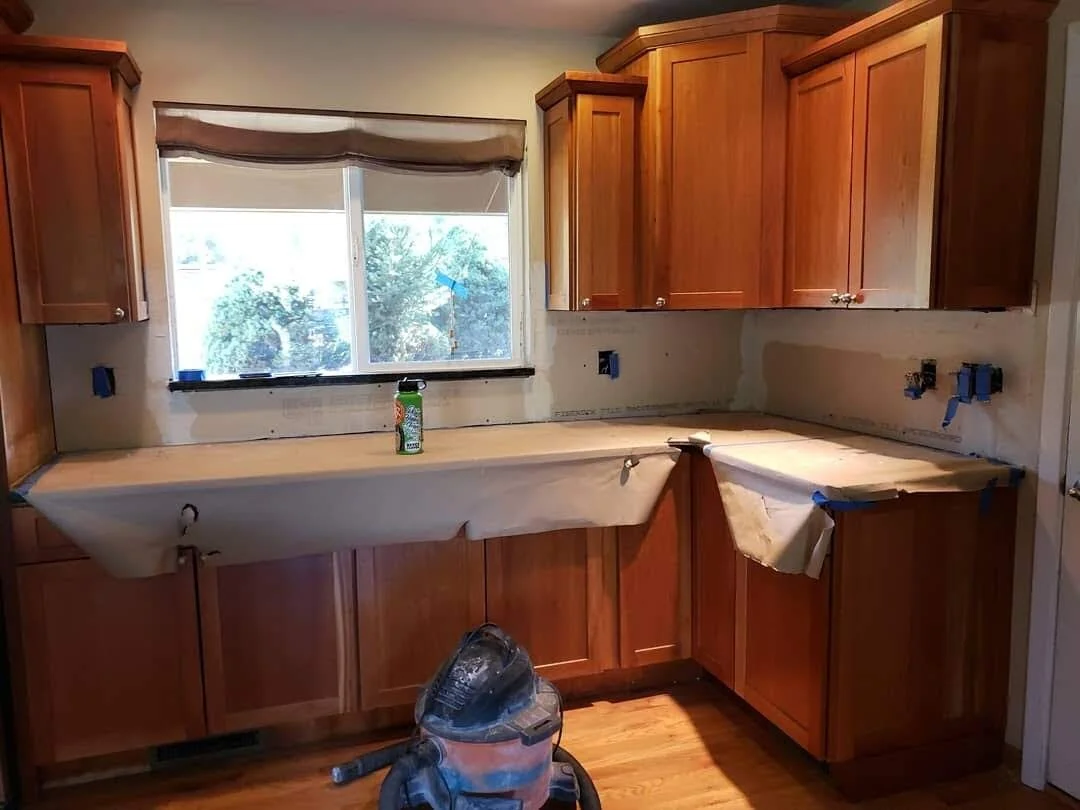
When we started demo, it became clear very quickly, that the drywall behind the tile was going to have to come out as well. All surfaces were demoed down to the studs, and new backerboard was installed. I prefer to do this since it gives a nice, flat, and clean surface for installation.

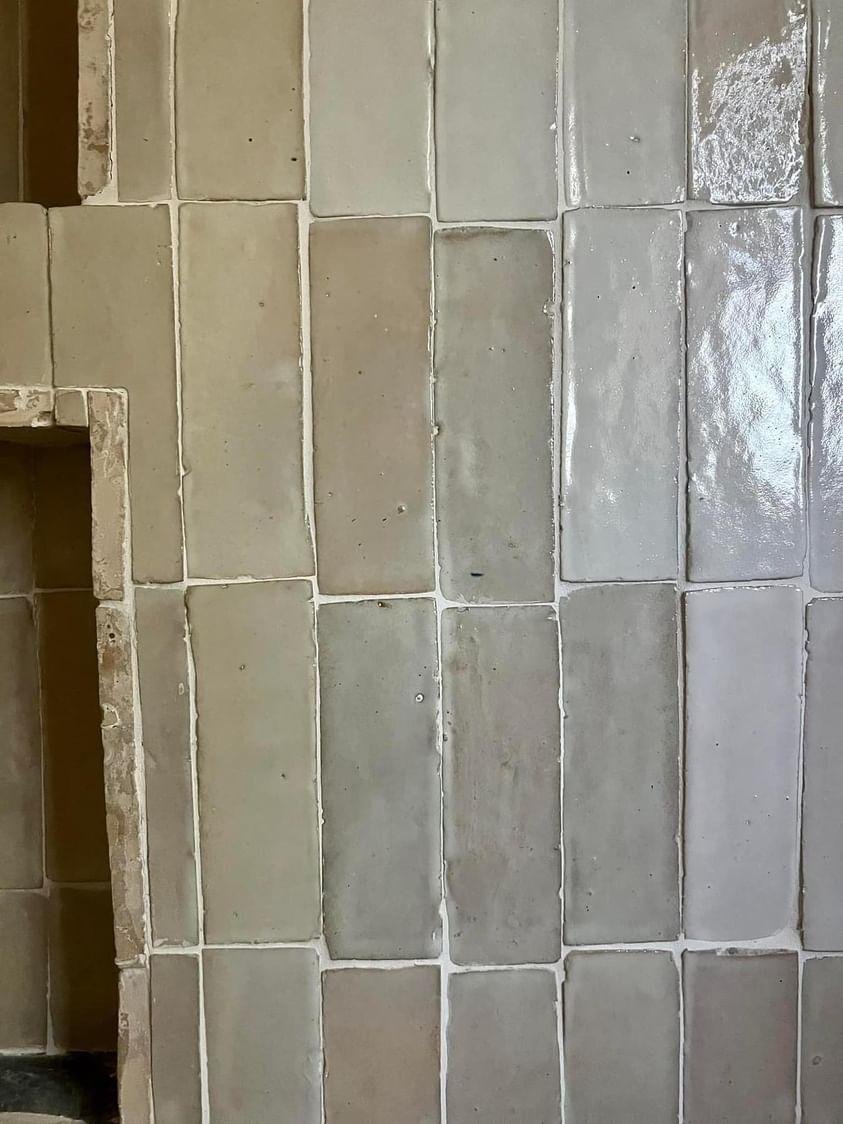
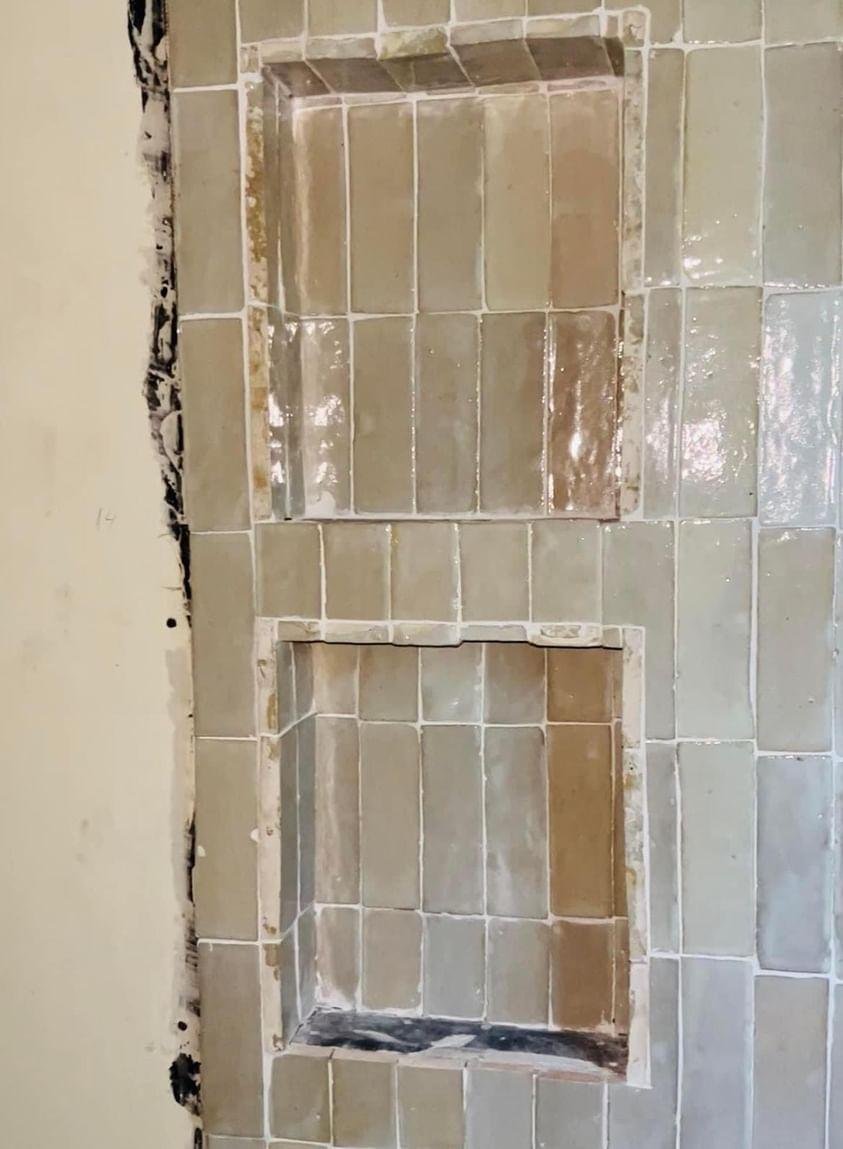
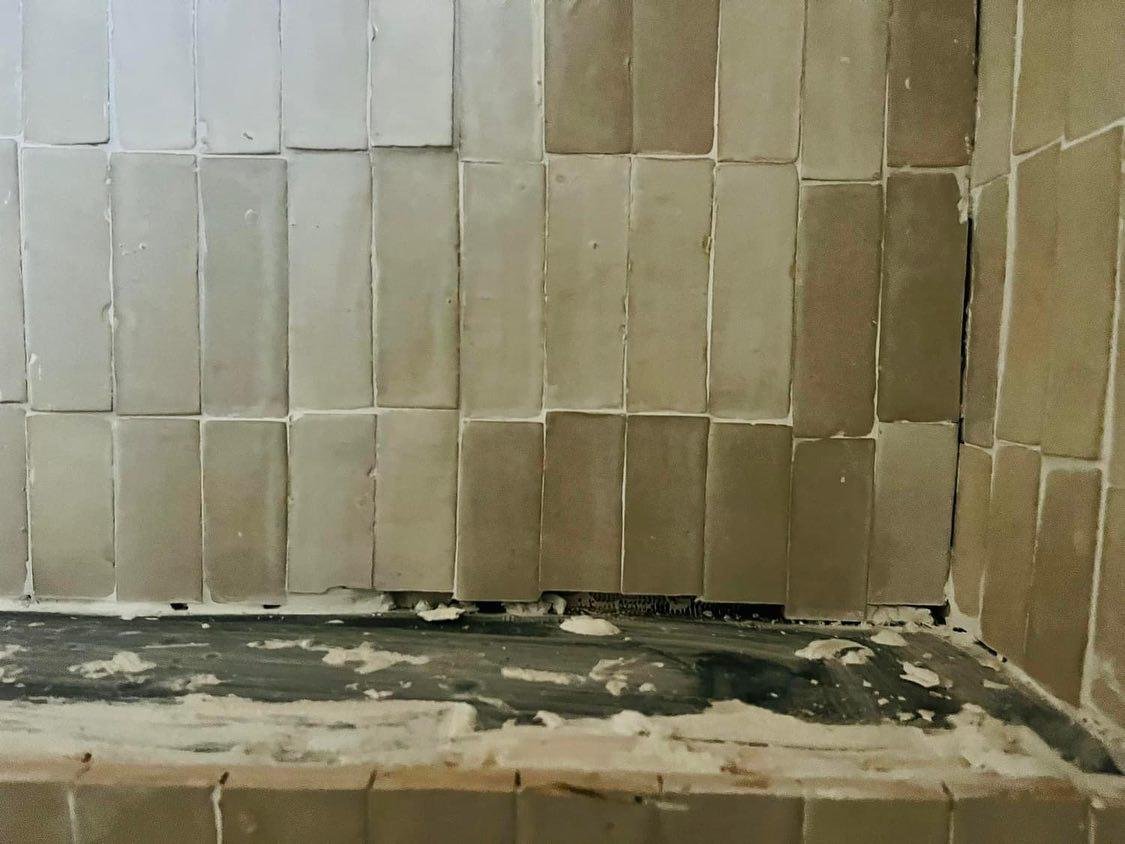
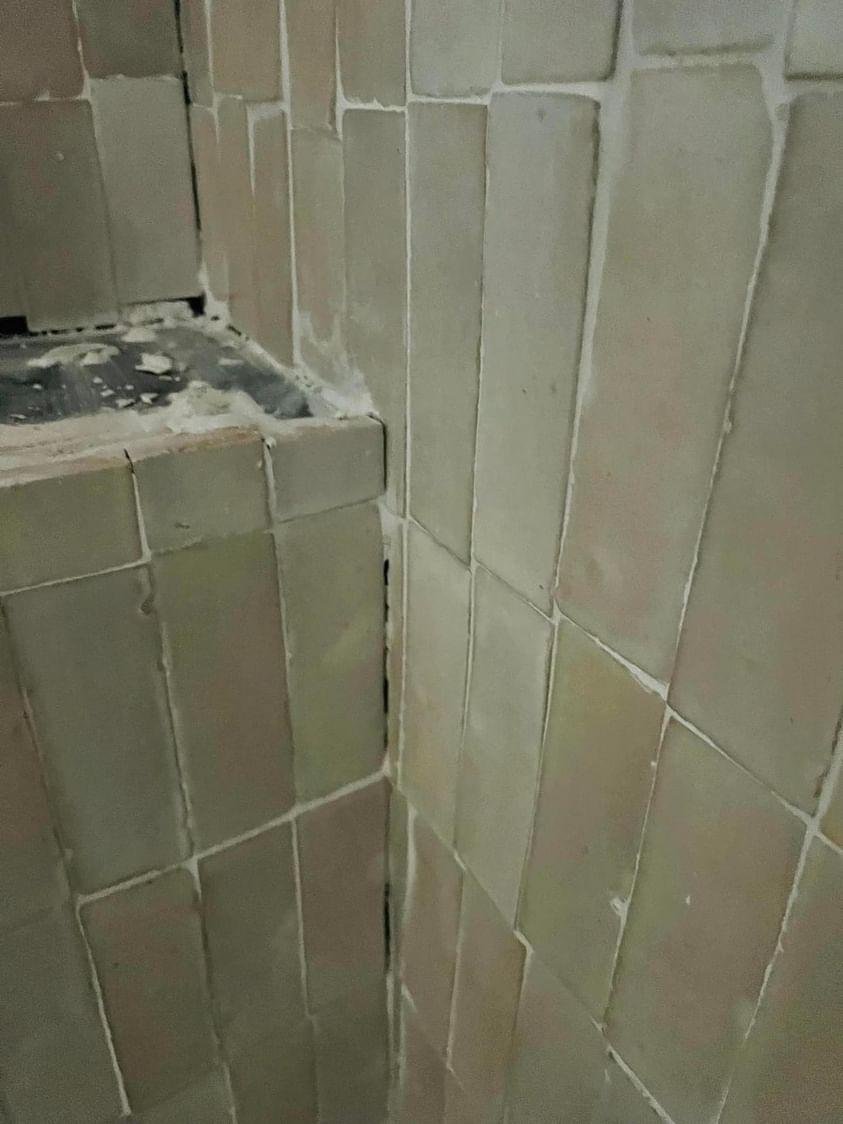
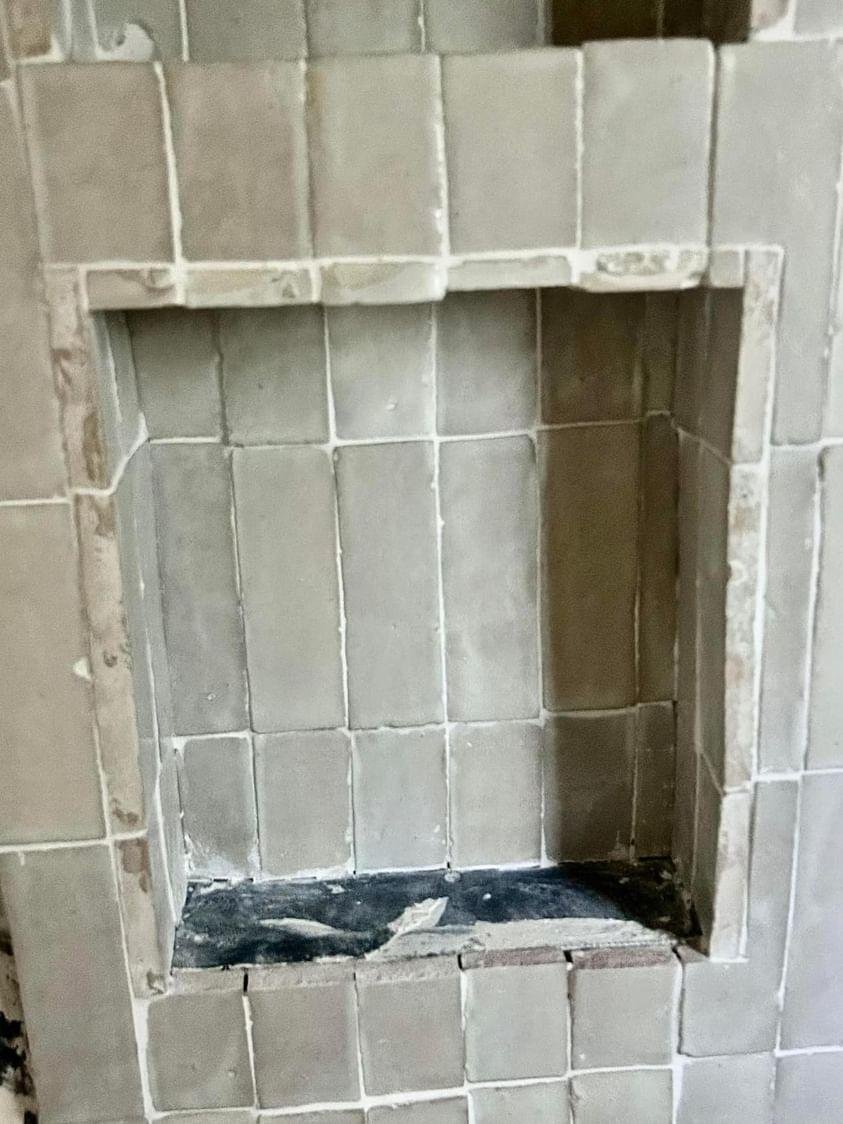
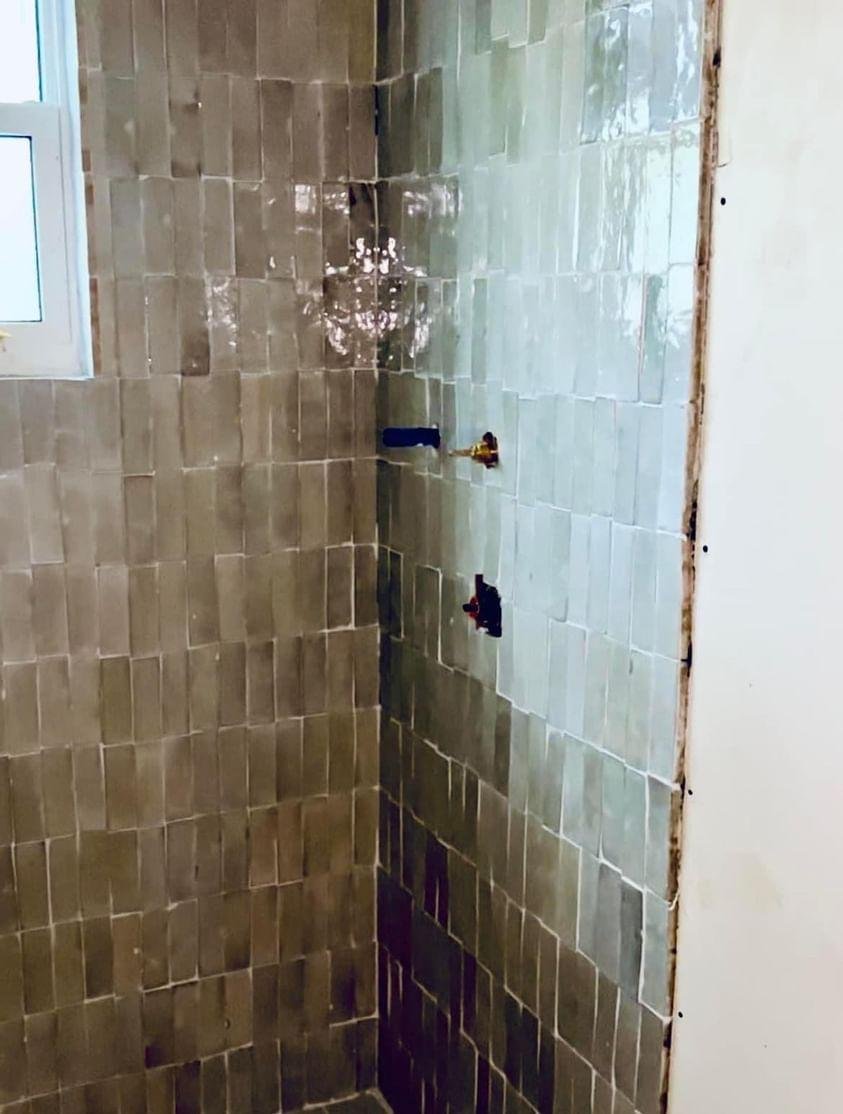
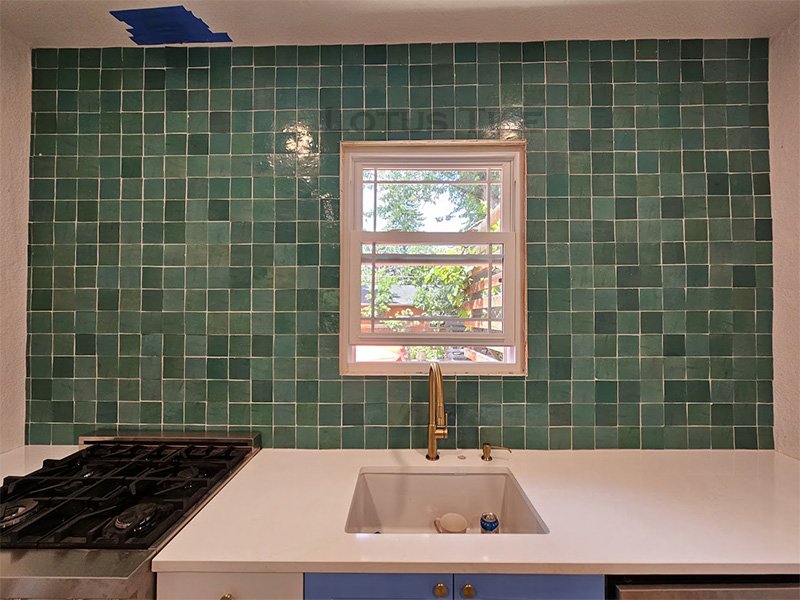
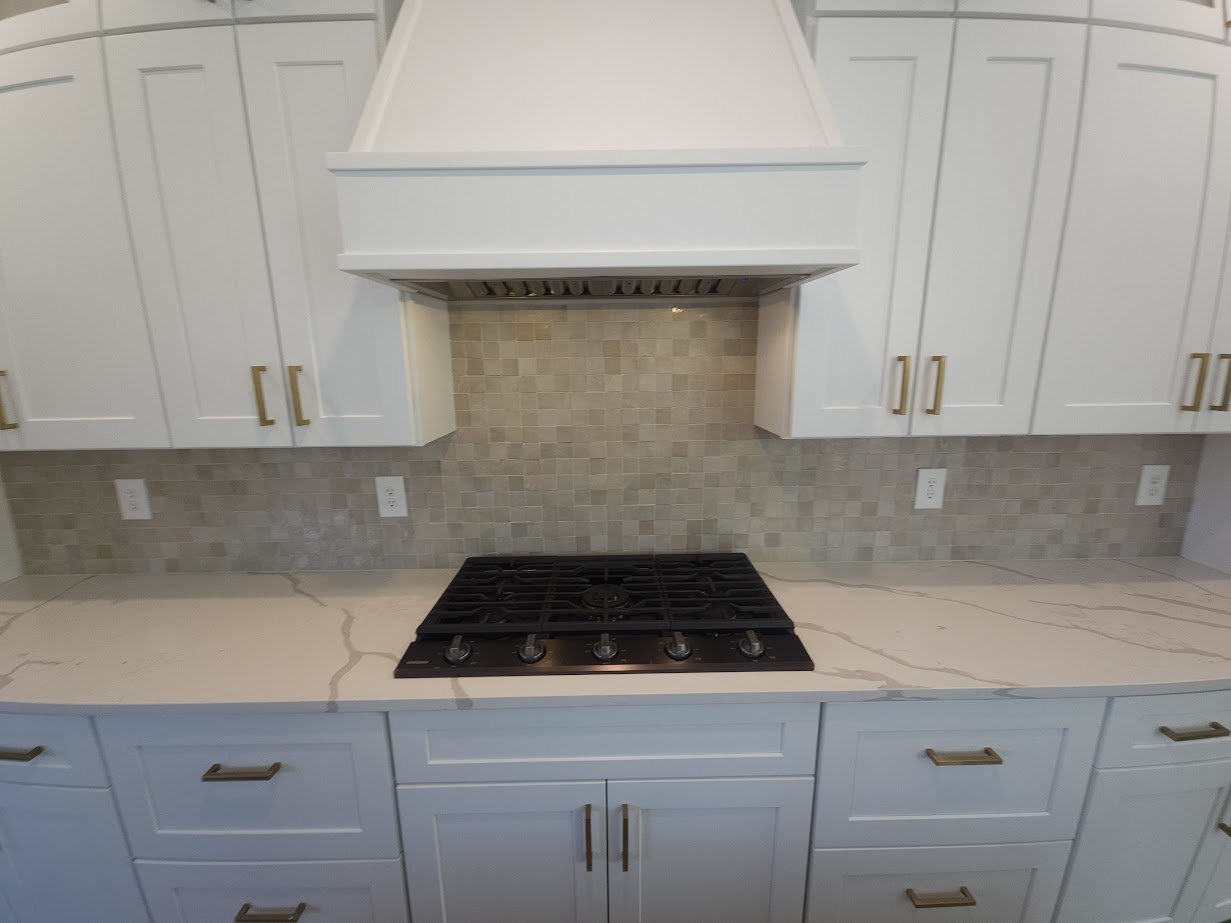
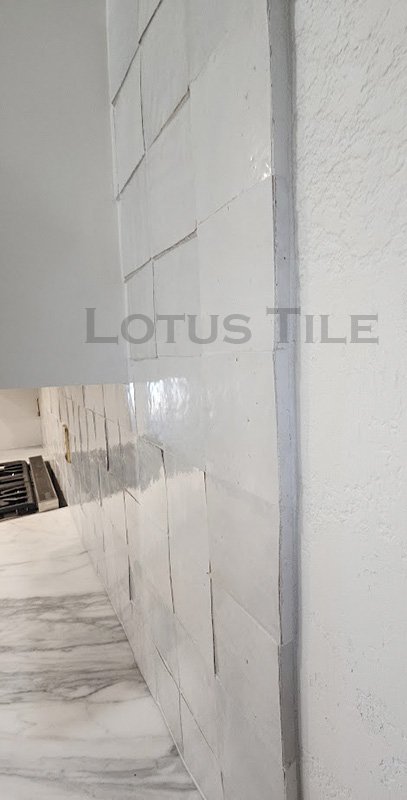
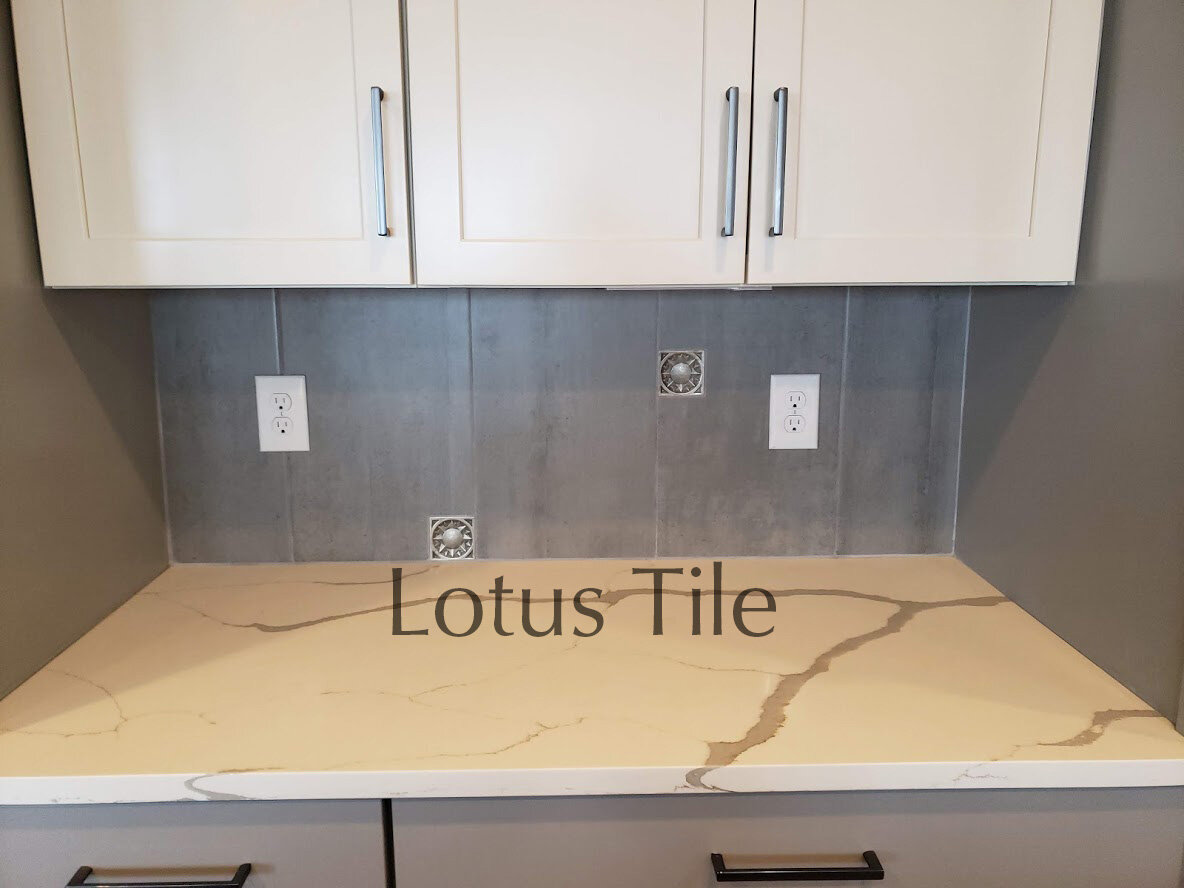
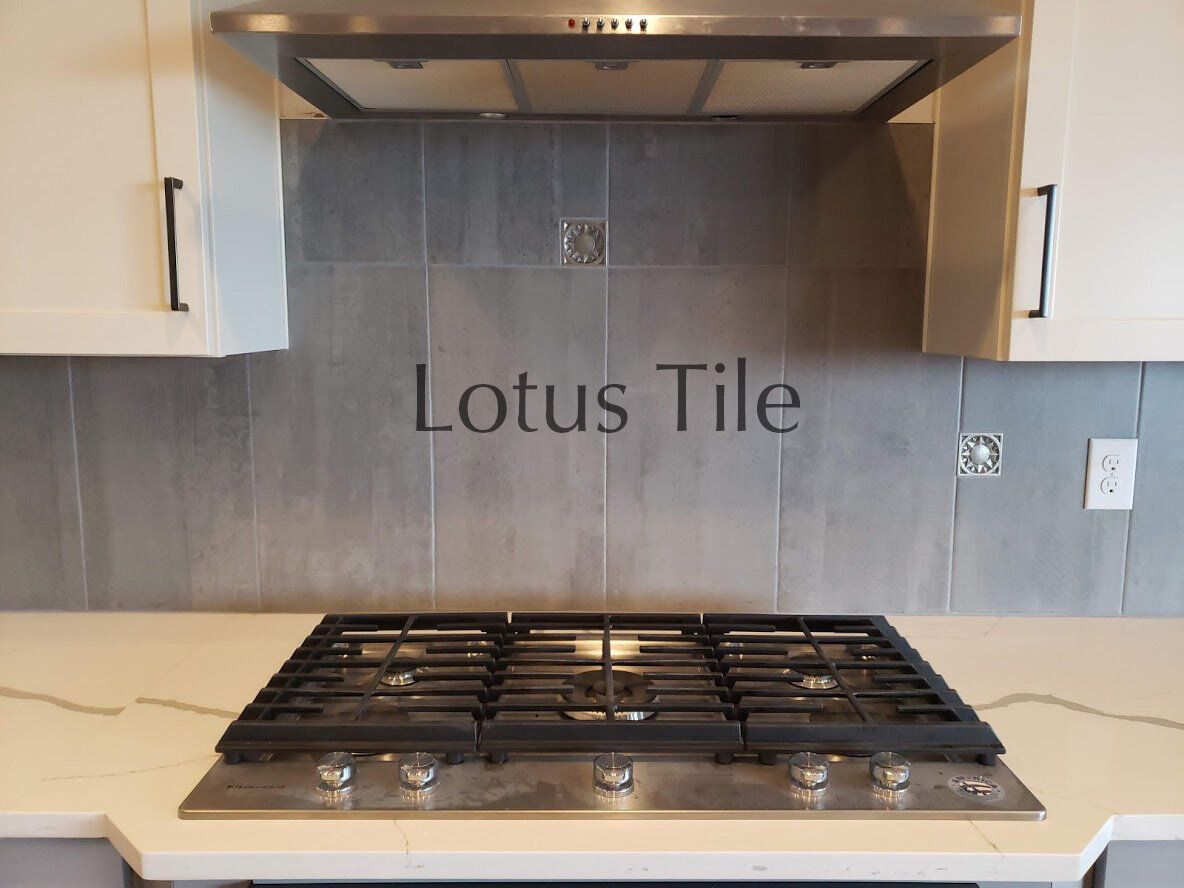
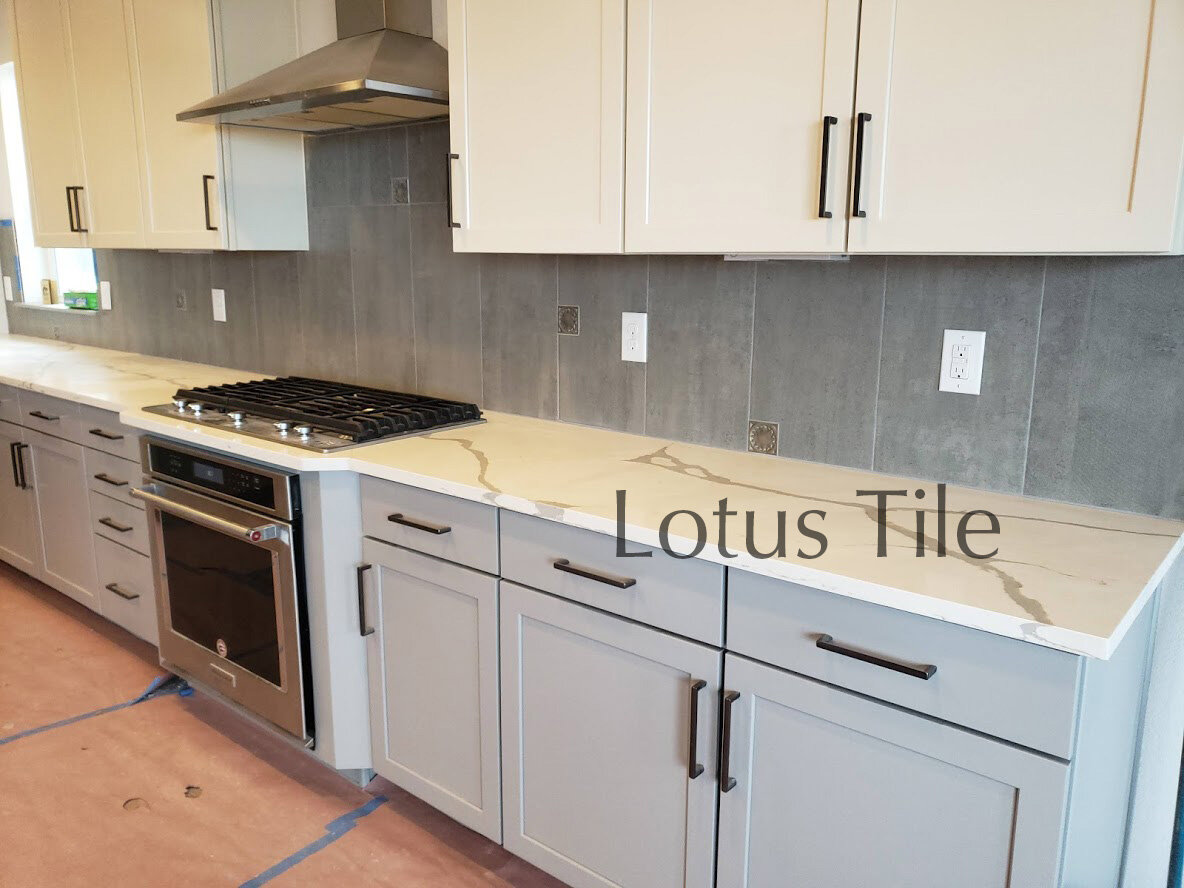
I started with the backsplashes, a larger marble subway tile. The client and I agreed on a 50% offset pattern for the layout. I chose to do a fingerlace pattern when wrapping into the window. I usually trim out my projects with a metal profile, but I felt it just didn’t fit with this classic tile.

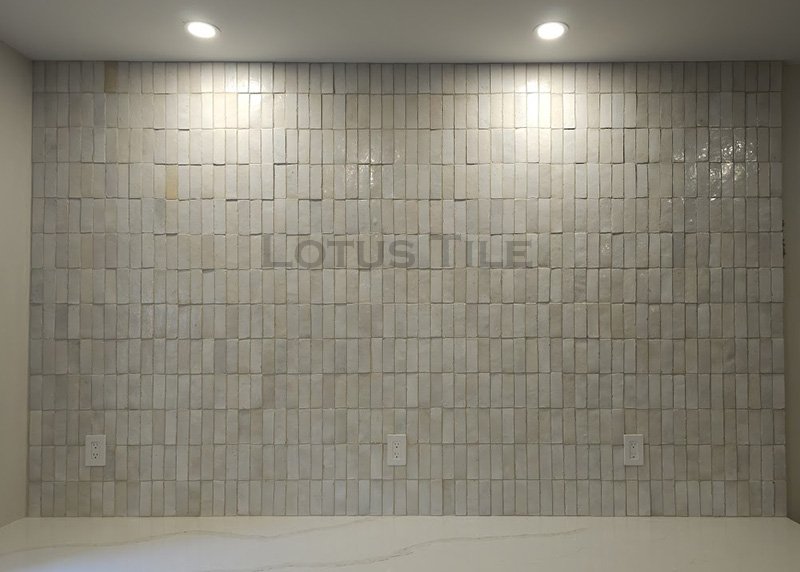
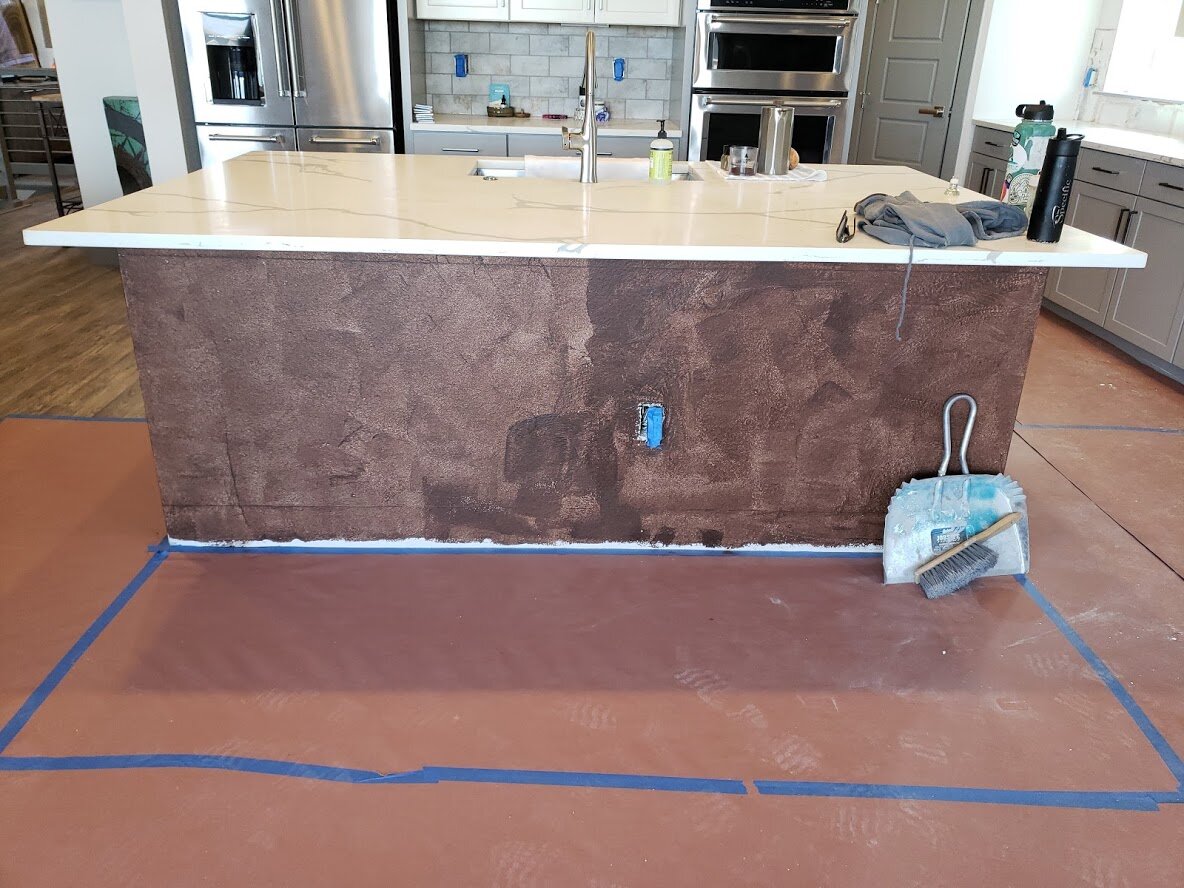
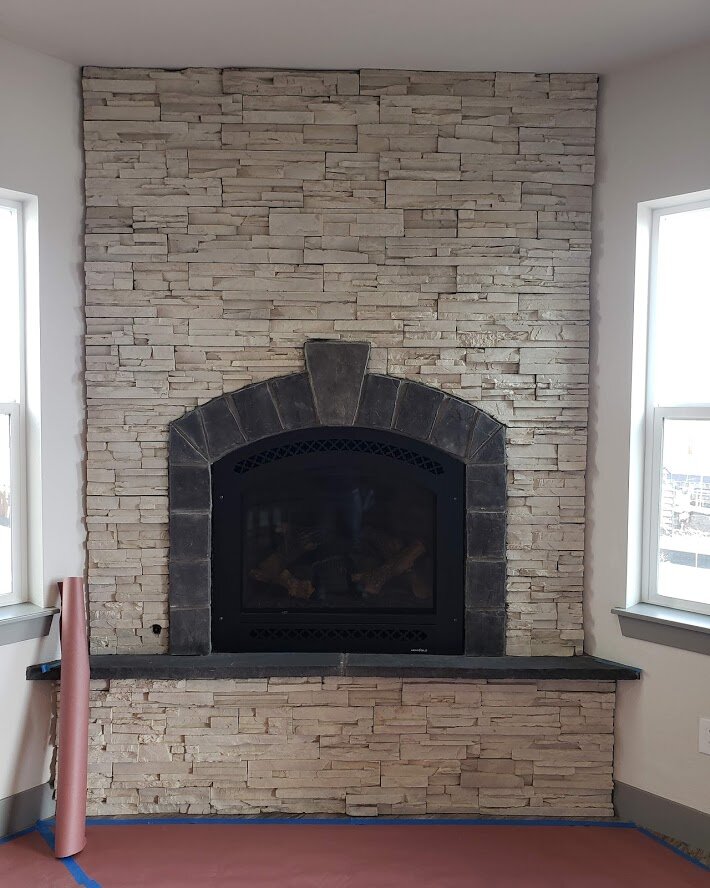
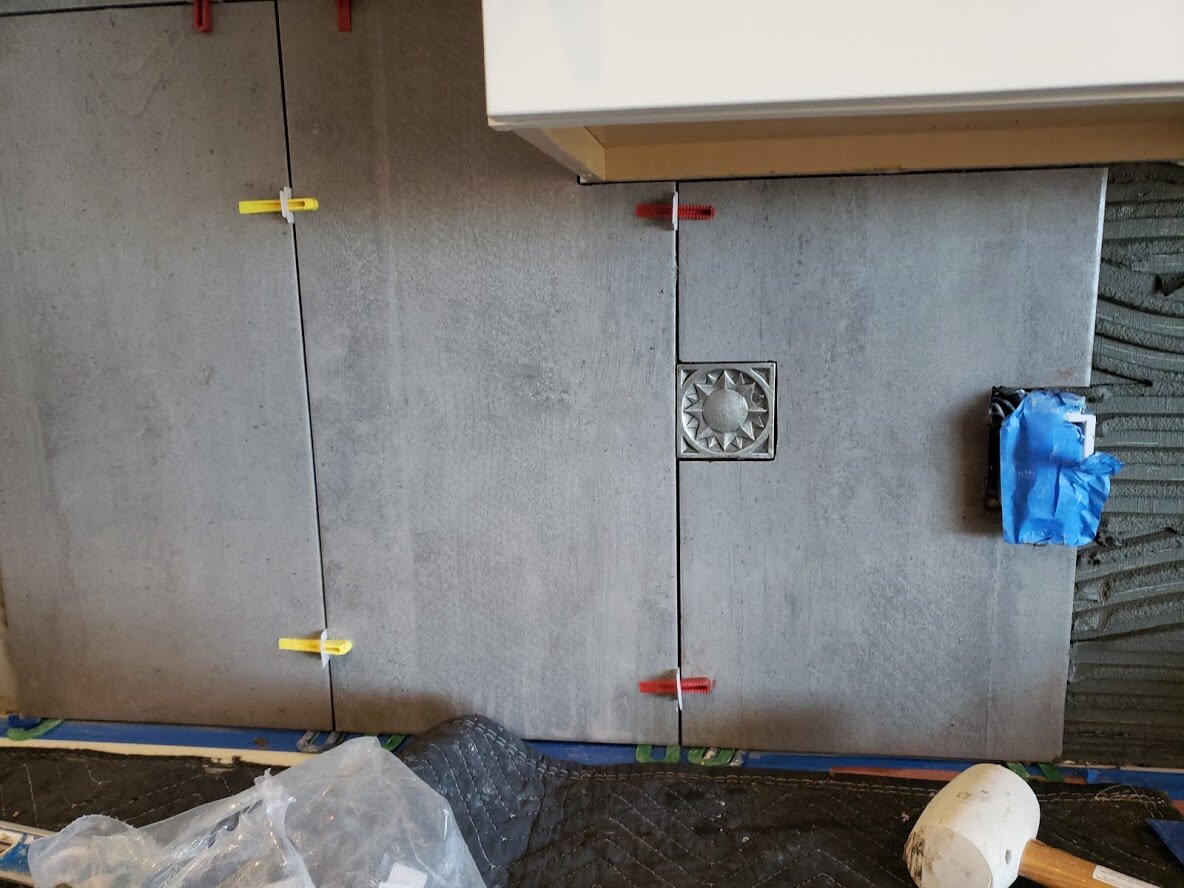
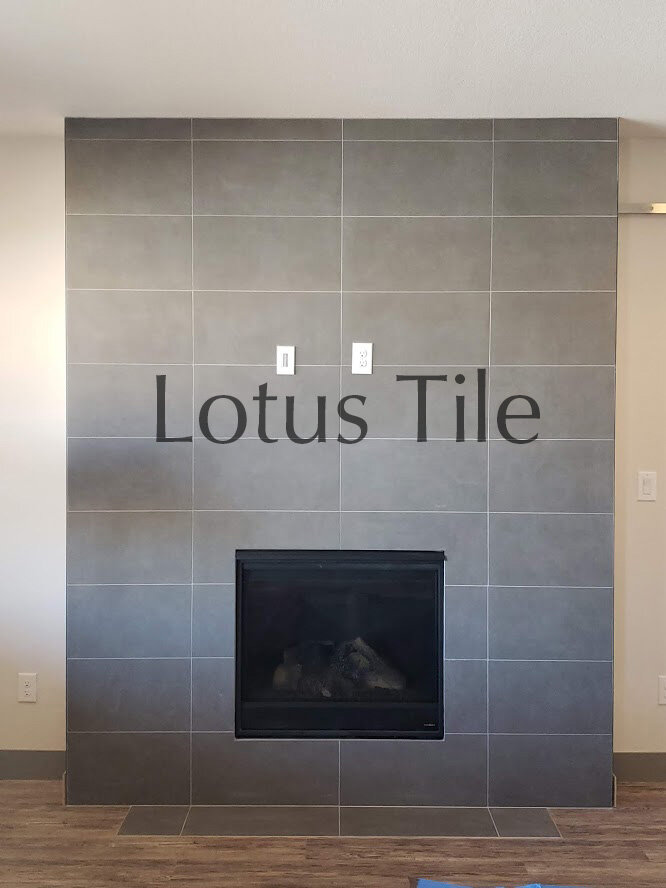
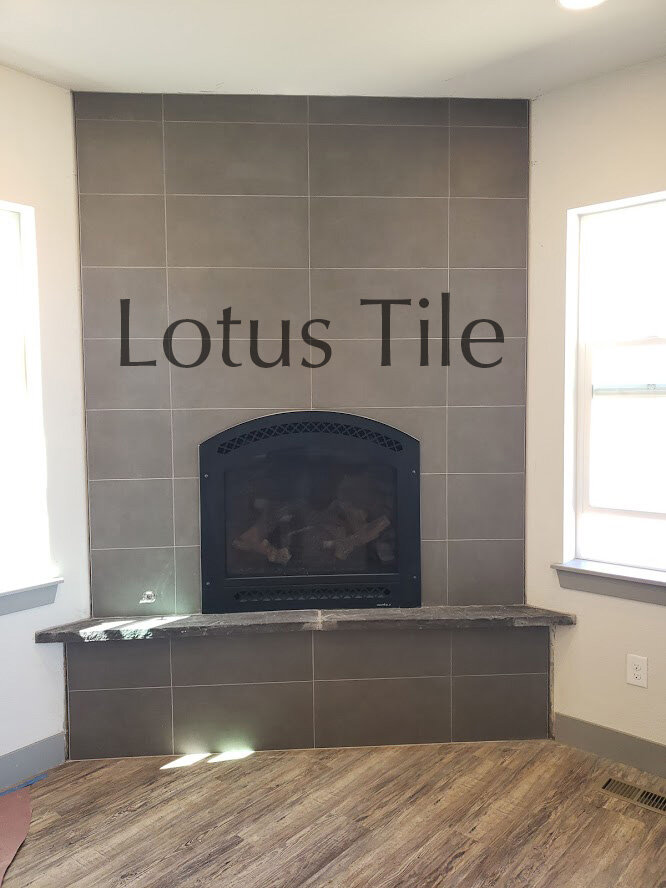
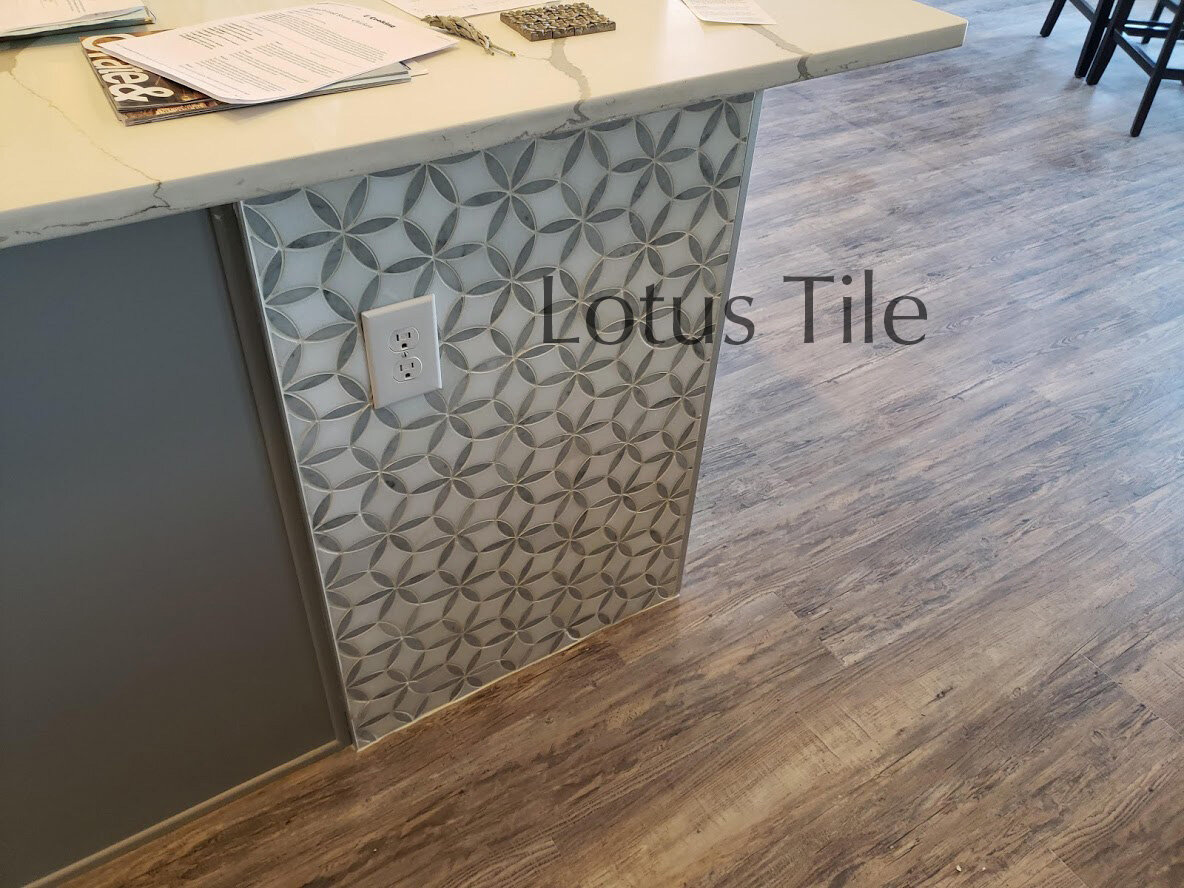
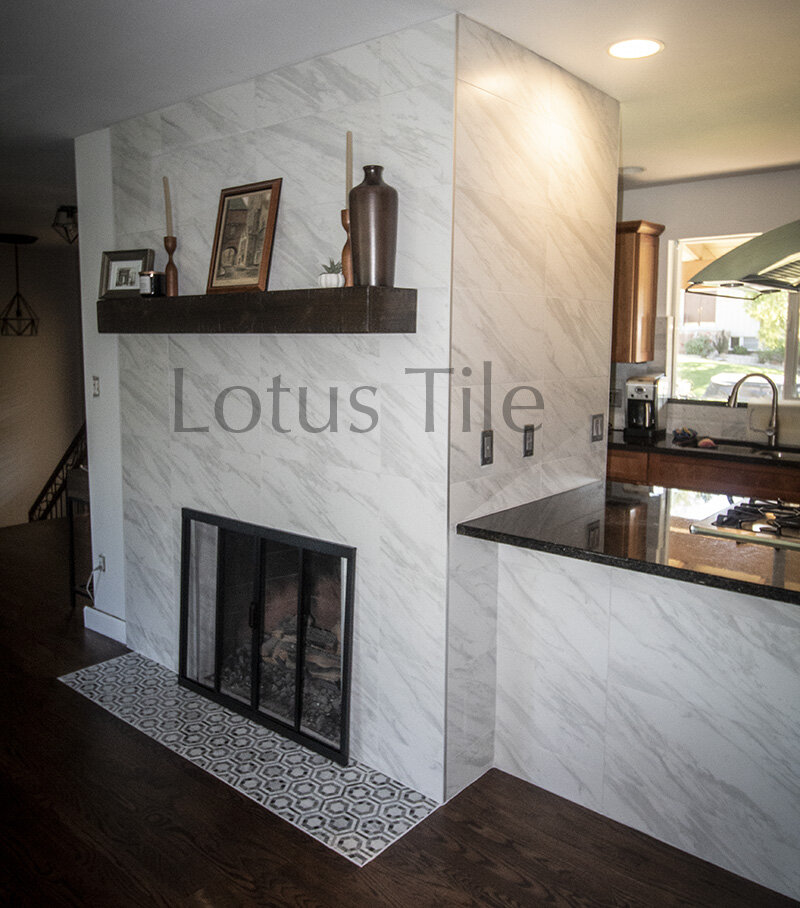
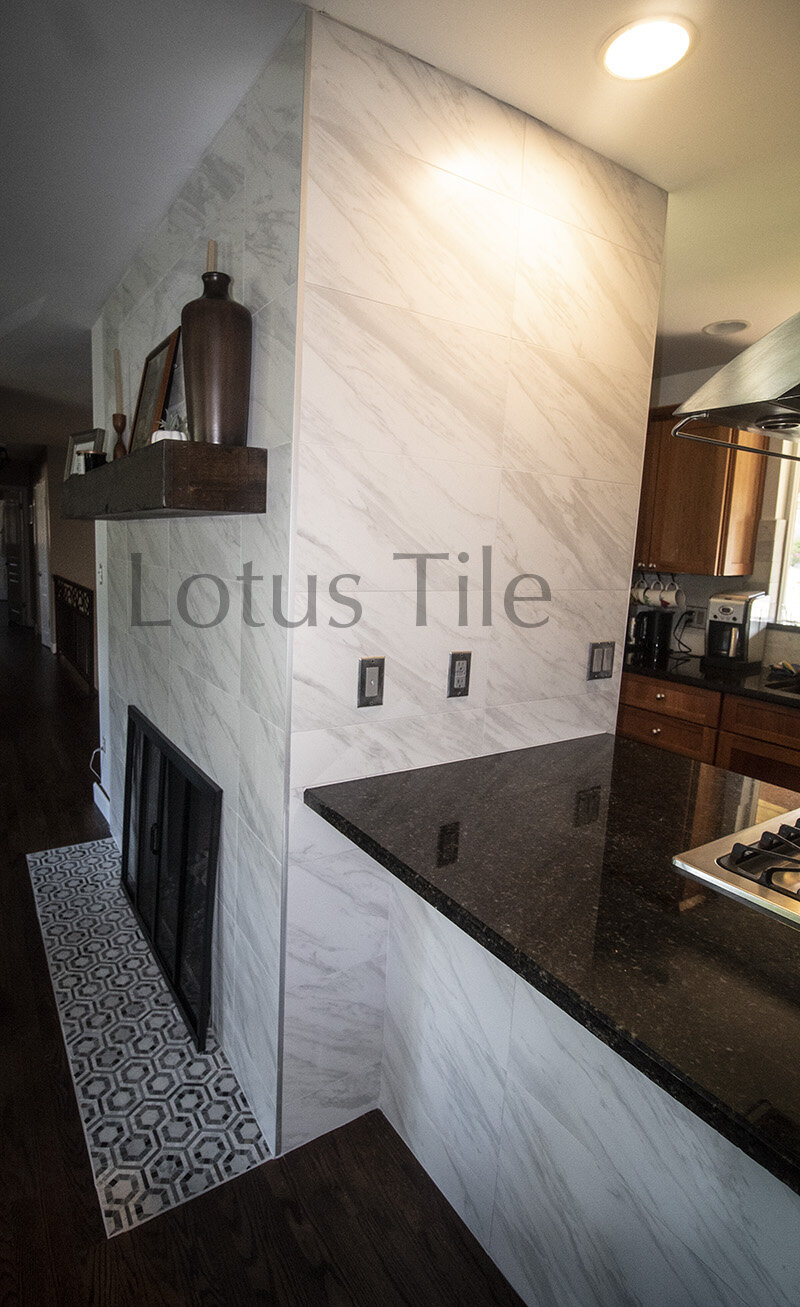
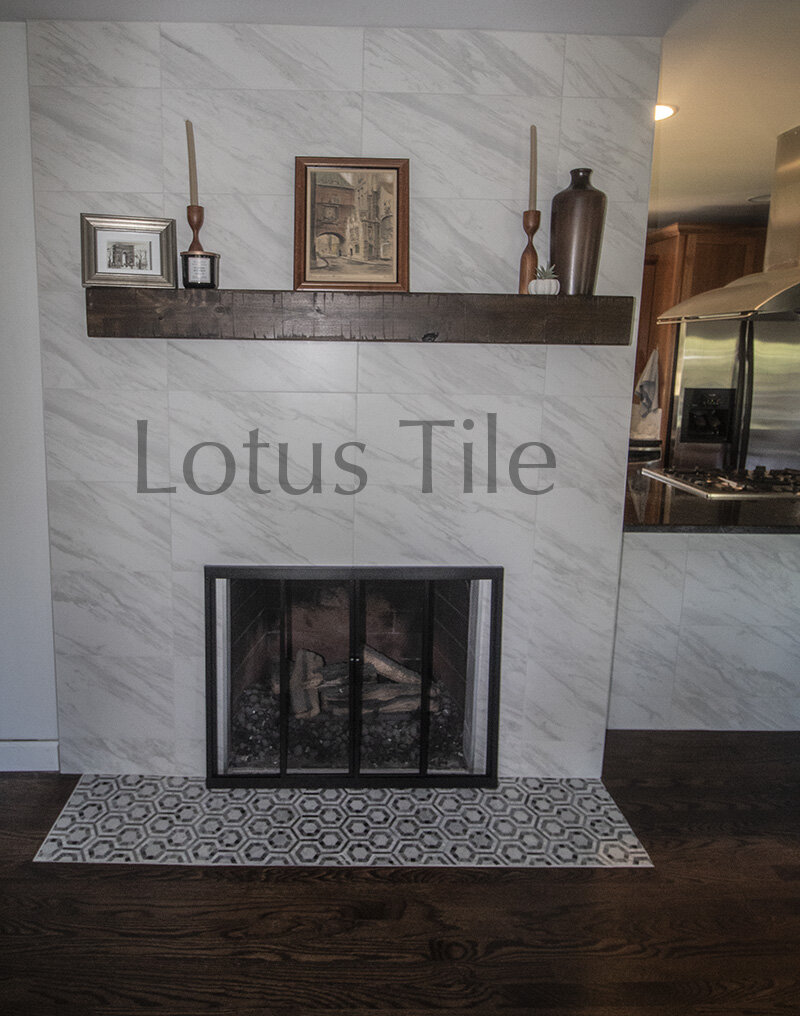
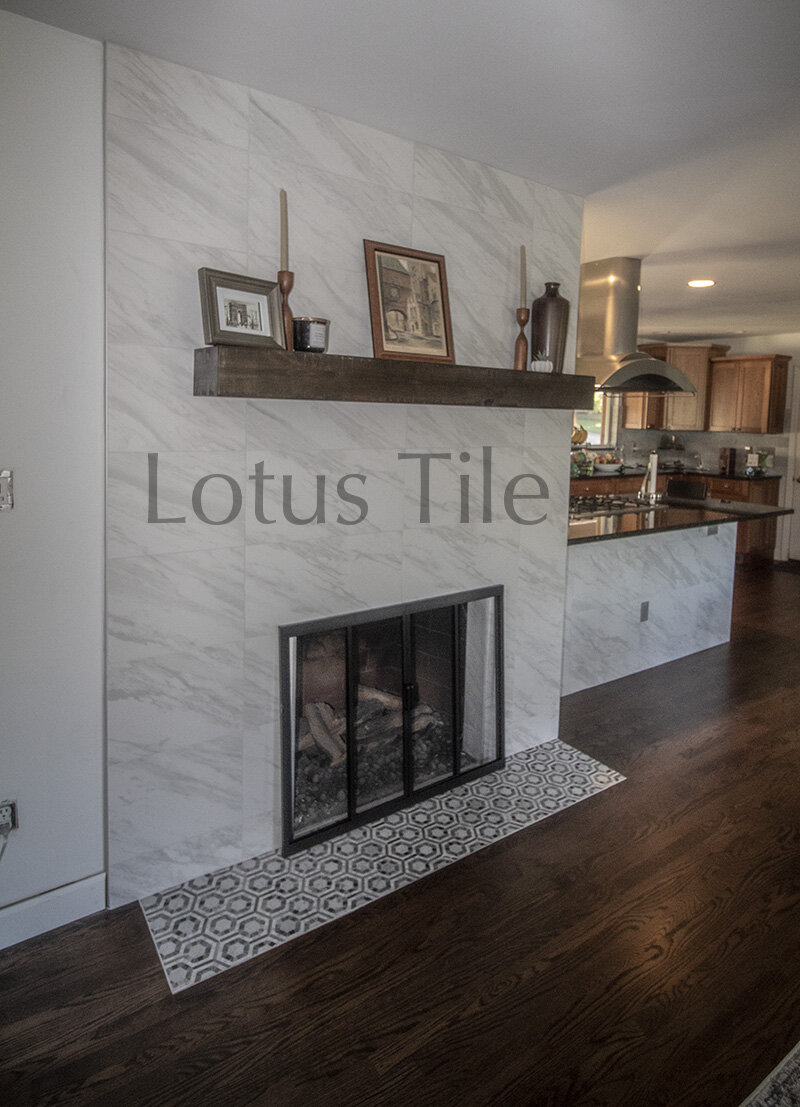
I then moved on to the island and fireplace. For this area the client chose a 12x24” porcelain tile that had a carerra marble pattern to it. For this portion of the project, I used the Schluter Jolly trim on the exposed edges. I chose to go with a straight lay pattern for this layout. A lot of people prefer a 50% offset pattern for this type of tile, what they may not know, is this layout is often not recommended by the manufacturer. Many manufacturers print the recommended layouts right on the tile packaging.

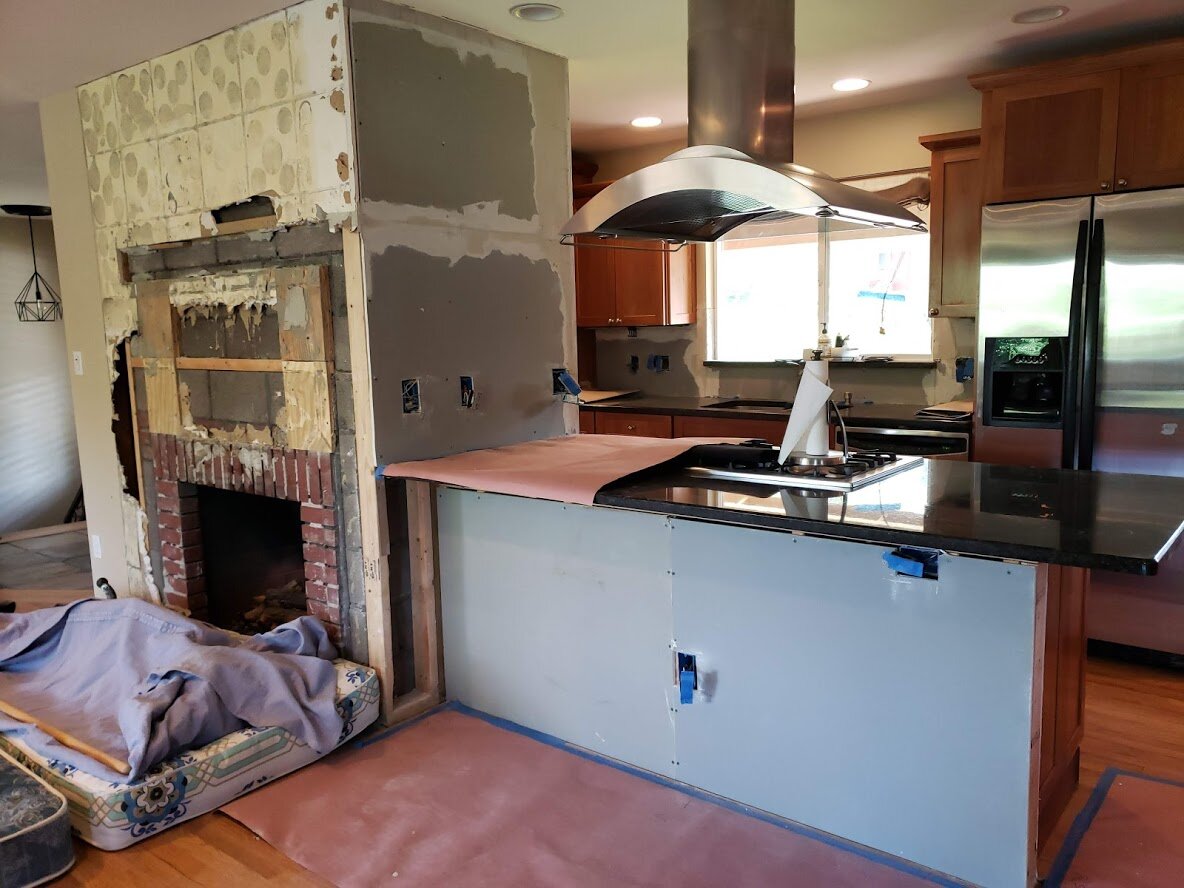
When I demoed the fireplace, i discovered a hodgepodge disaster. Brick, concrete, and framing held on by glue. My assistant and I started, affectionately, referring to it as the “frankenfireplace”. How this thing held up those tiles, I will never know. I added framing members in various areas using a strong adhesive and ramset drive pins. This gave me more framing to attach my backerboard to.

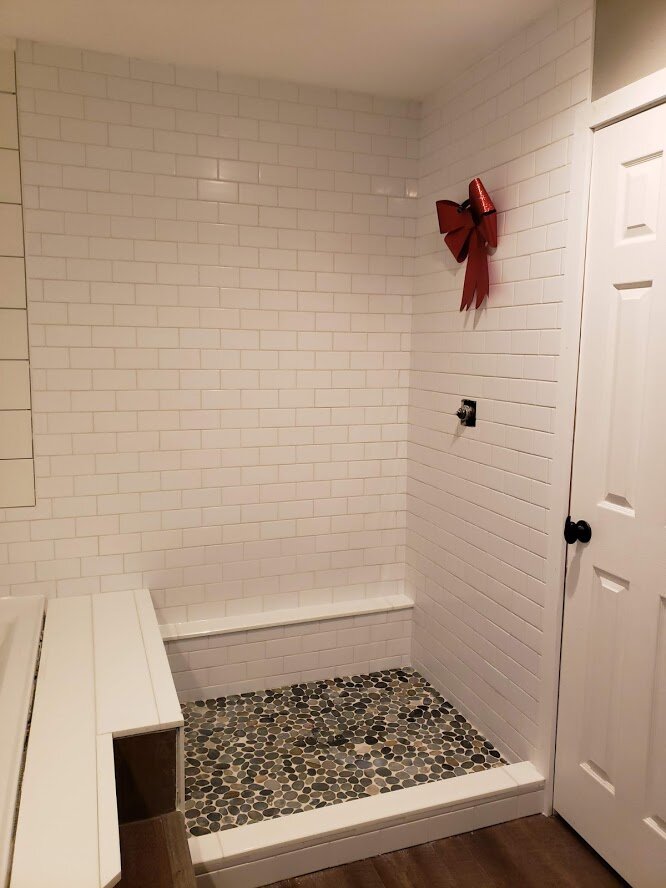
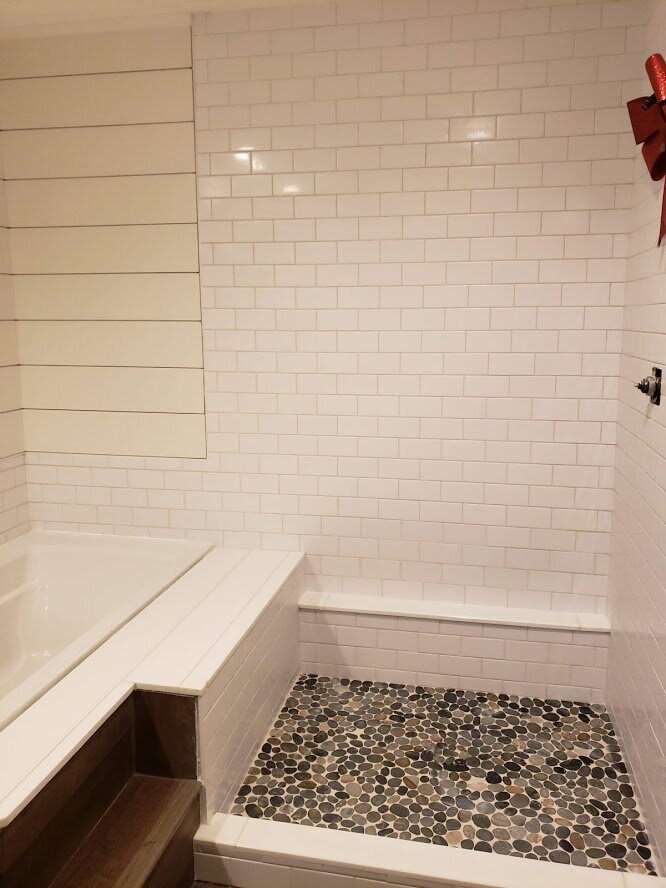
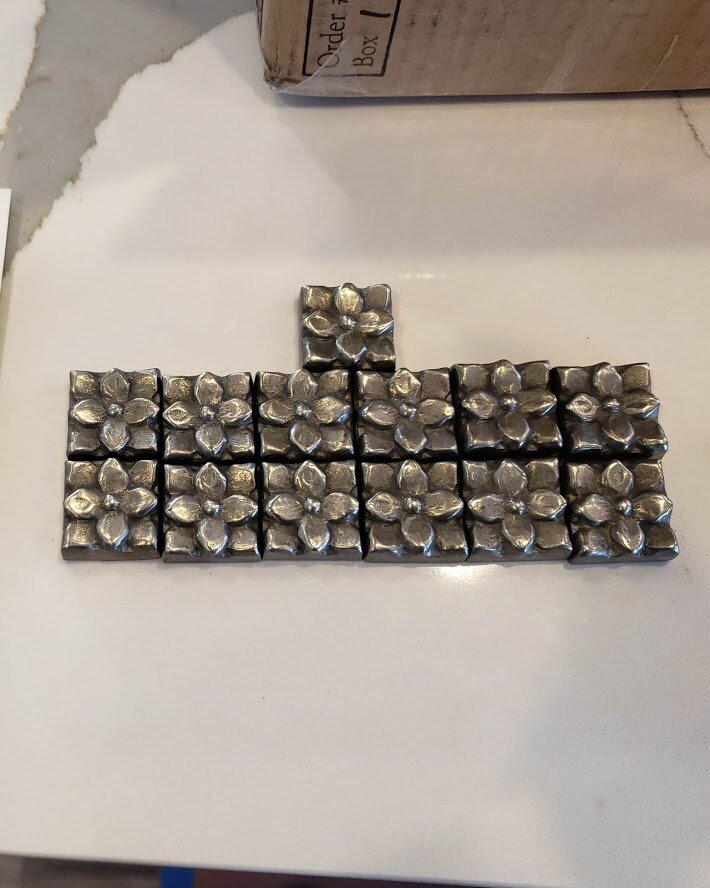
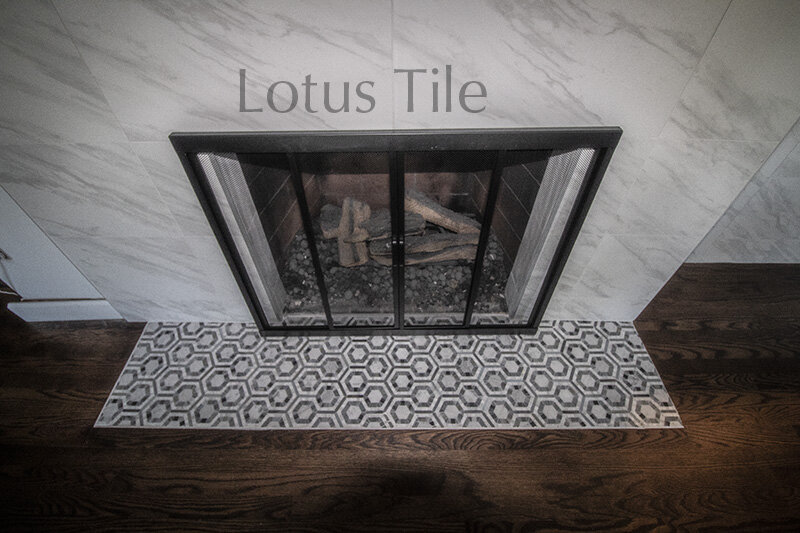
For the hearth, the client chose a beautiful marble mosaic. When we demoed the old hearth, we found a crumbly mortar bed a few inches thick. After removing this, it left the sub floor sitting well below the hardwood flooring. I used a self leveling concrete to raise the height of the subfloor so that the tile would sit flush with the wood flooring after installation.

There were some minor challenges that presented themselves throughout the project, but that is the nature of construction, it’s all in how you handle it, and there is always a solution. This is one of my favorite projects to date, and I could not have asked to work for a more wonderful family!